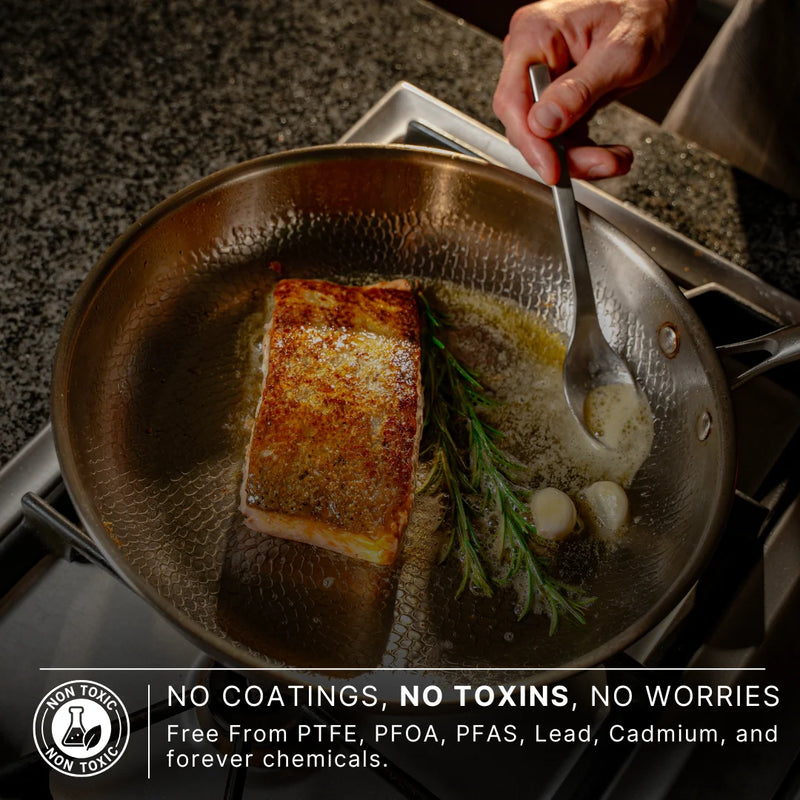














To cook salmon in a frying pan, pat the fillet completely dry, heat the pan until the fish sizzles on contact, and place it skin-side down first. Then leave it alone. Most of the cooking happens on the skin side, which crisps the skin and keeps the flesh gentle and moist. A fillet about an inch thick usually takes 6 to 10 minutes in total.
The method is simple, but a few details decide whether you get crispy skin or a stuck, soggy salmon. In this guide, we’ll go through the steps, how long different fillets take, and how to tell when salmon is done.

How to Cook Salmon in a Frying Pan: Step by Step
Step 1: Prep the Salmon
Start by checking the fillet for pin bones. Run your fingertip along the center line, and if you feel any small bones sticking up, pull them out with tweezers. Then dry the fillet thoroughly with paper towels, especially the skin. Moisture is what turns skin rubbery instead of crisp, because the pan has to burn off the water before anything can brown.
If the fillet tends to curl in the pan, make shallow diagonal cuts across the skin about an inch apart. Taking the salmon out of the fridge about 10 minutes beforehand also helps it cook more evenly. Season with salt and pepper just before it goes in. If you salt it earlier, the surface will get wet again, so pat it dry once more.
Step 2: Heat the Pan
Place the pan on medium-high heat and give it two to three minutes. Choose one large enough to hold the fillets with a little space between them. The goal is a pan that’s hot enough to sear the skin the moment it touches the surface, since a pan that’s still warming up is the most common reason salmon sticks. Salmon should sizzle on contact. If the fish doesn’t sizzle, the pan isn’t hot enough, so wait a little longer.
Medium-high is enough. Going all the way to high heat tends to burn the skin before the inside has time to cook. If your pan has a traditional non-stick coating, keep in mind that those pans usually can’t take much heat, which is part of why they rarely give you really crisp skin.
Step 3: Add a Little Oil
Oil isn’t strictly necessary here. Salmon is a fatty fish, and the skin releases fat as it cooks, so you can get away with very little. Still, a thin layer of oil is worth adding: it helps heat transfer evenly between the pan and the skin and makes the fillet release more reliably. Use an oil with a high smoke point, such as avocado, grapeseed, refined olive, or canola oil.
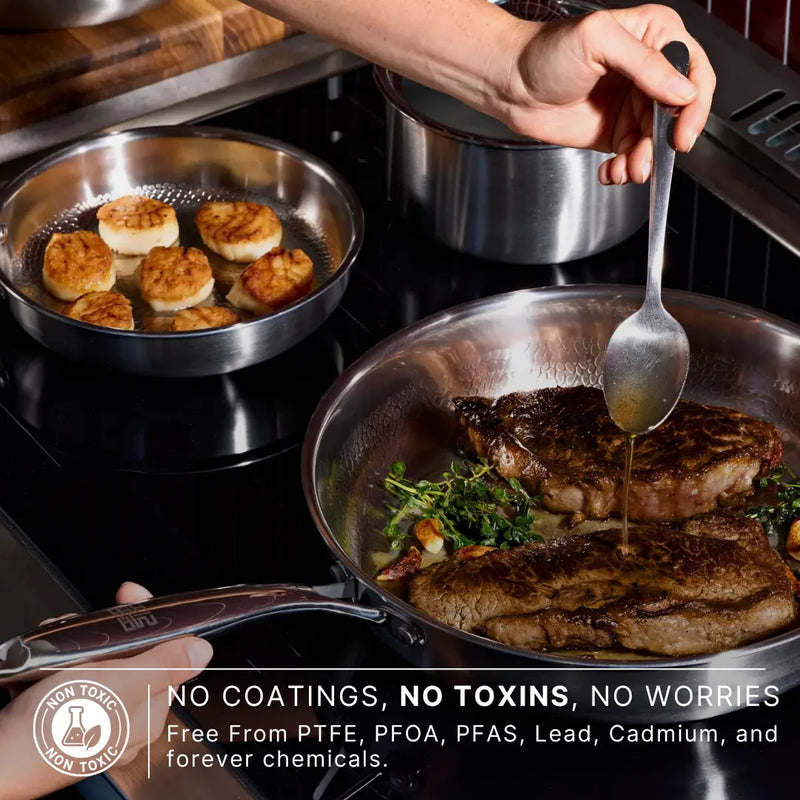
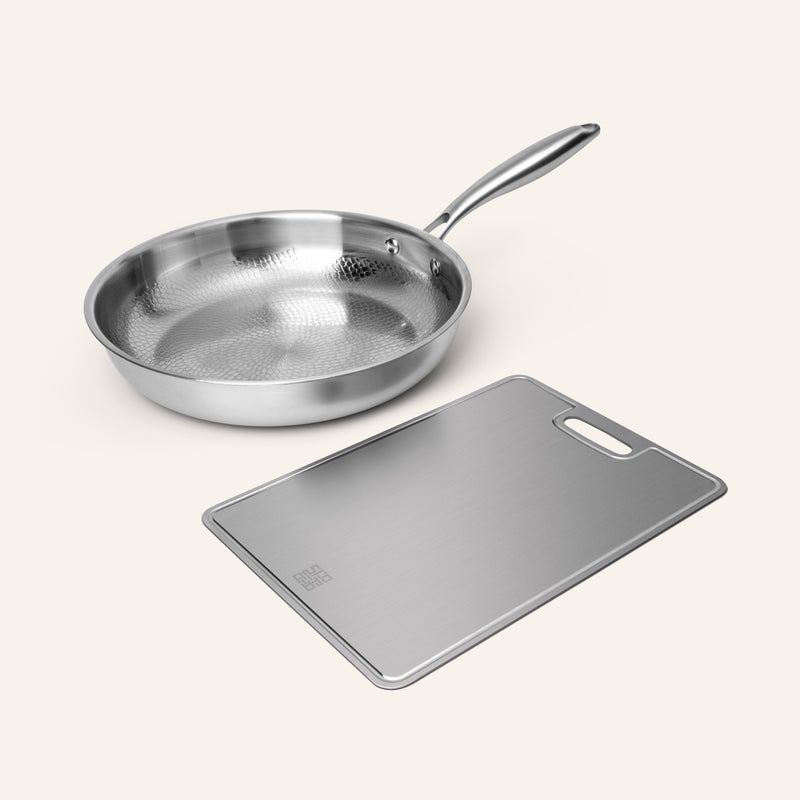
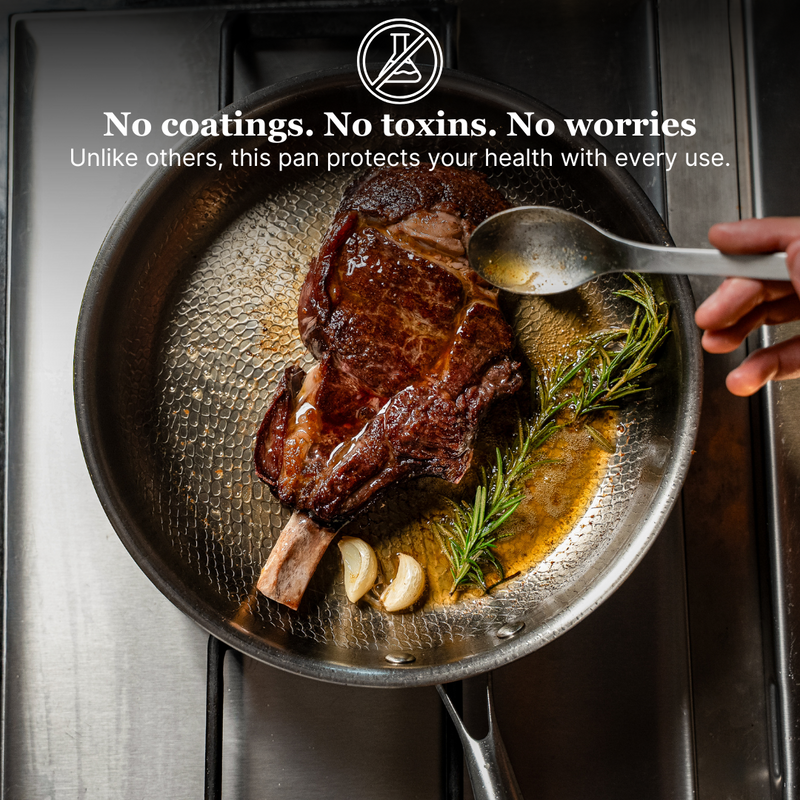
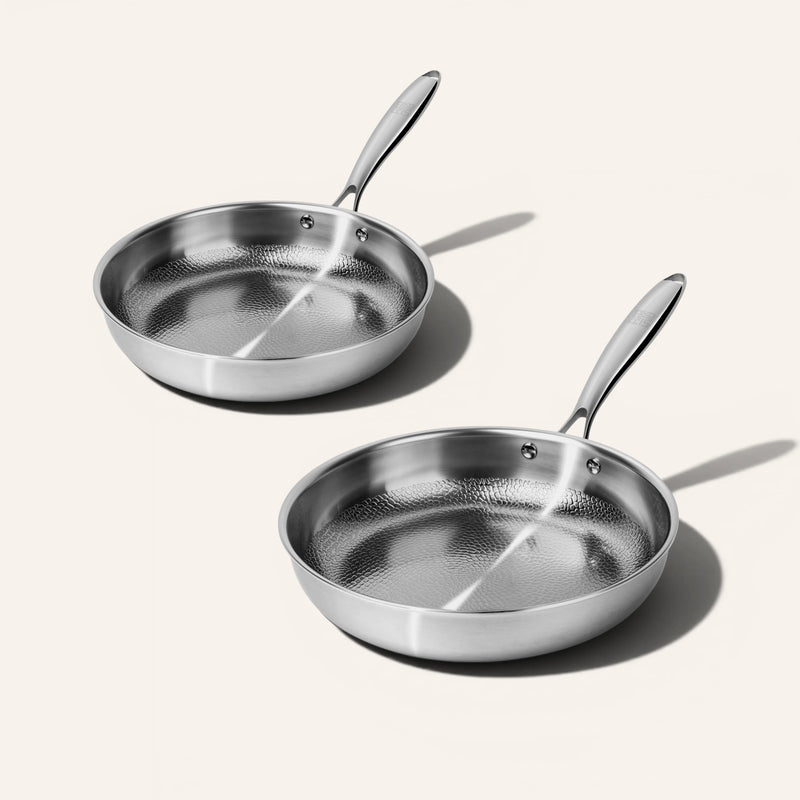
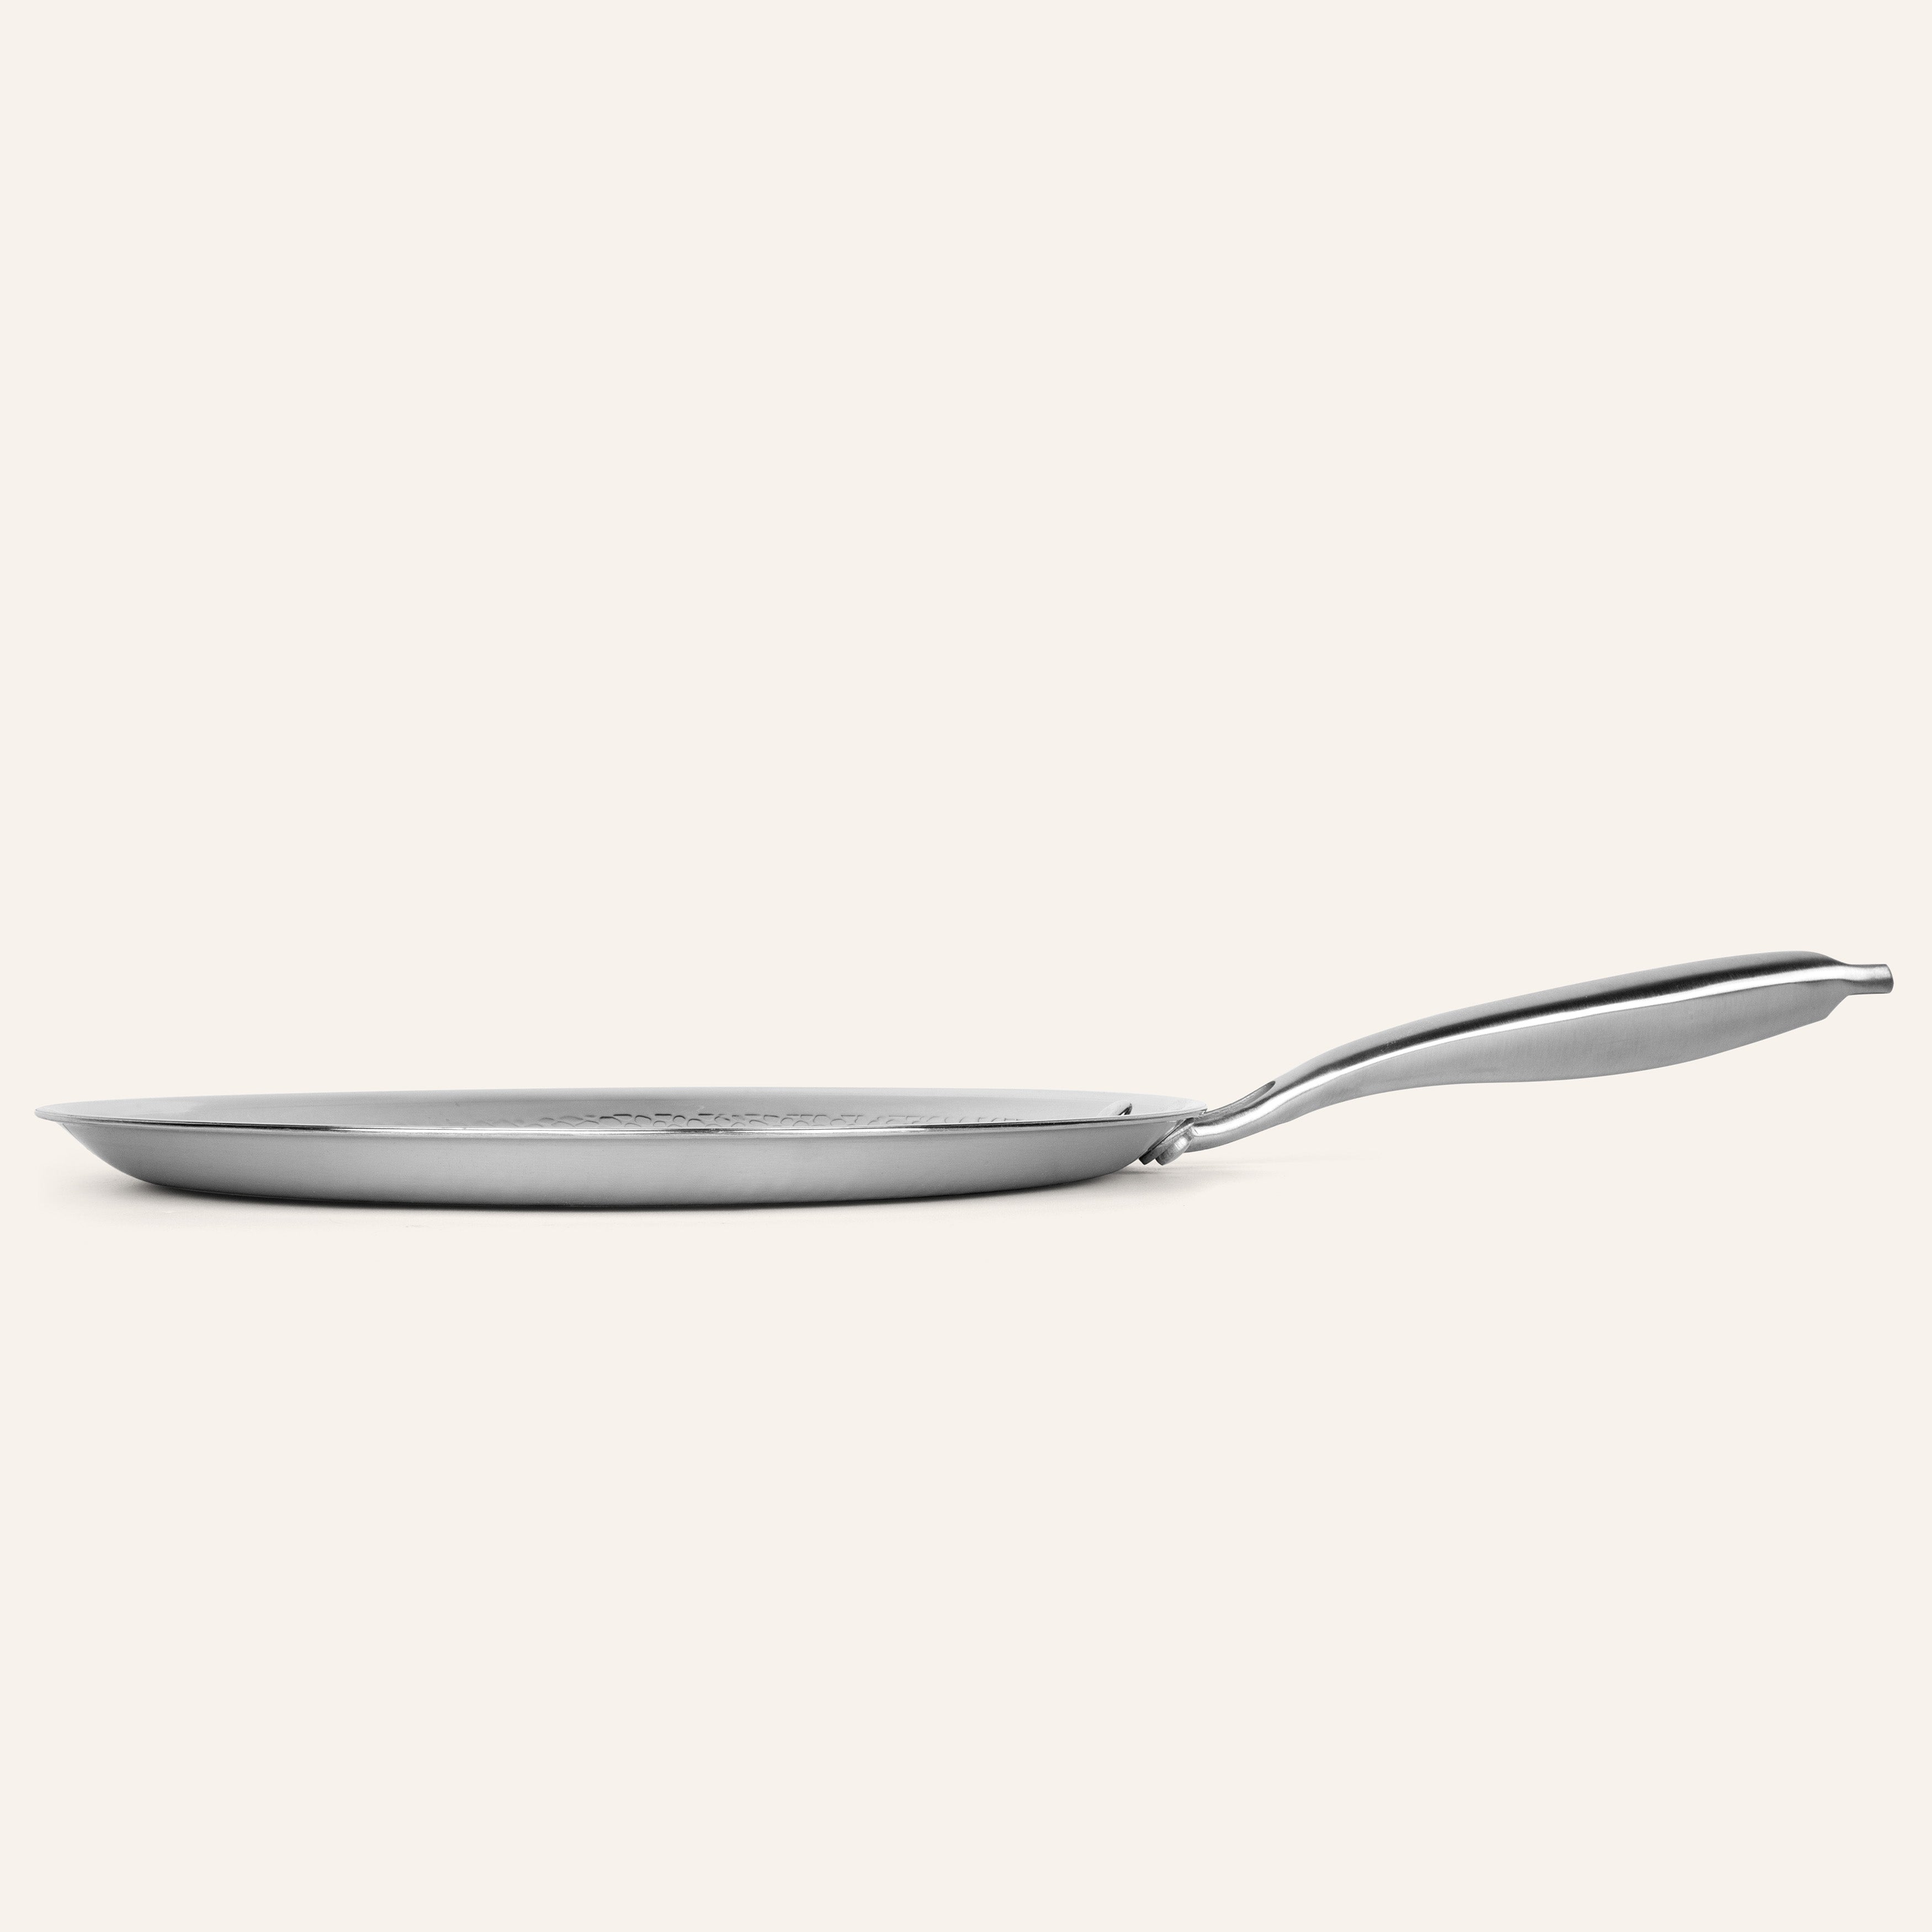
If you’re cooking in a titanium pan with a hammered surface, like the Siraat Titanium Hammered Pan Pro, about a teaspoon of high smoke point oil is what activates its natural low-stick performance. Its fully-clad build, with an aluminum core, also spreads heat evenly across the base.
Step 4: Place the Salmon Skin-Side Down
Lay the fillet in the pan skin-side down. You should hear an immediate, steady sizzle. If you don’t, take the fillet out and let the pan heat a little longer.
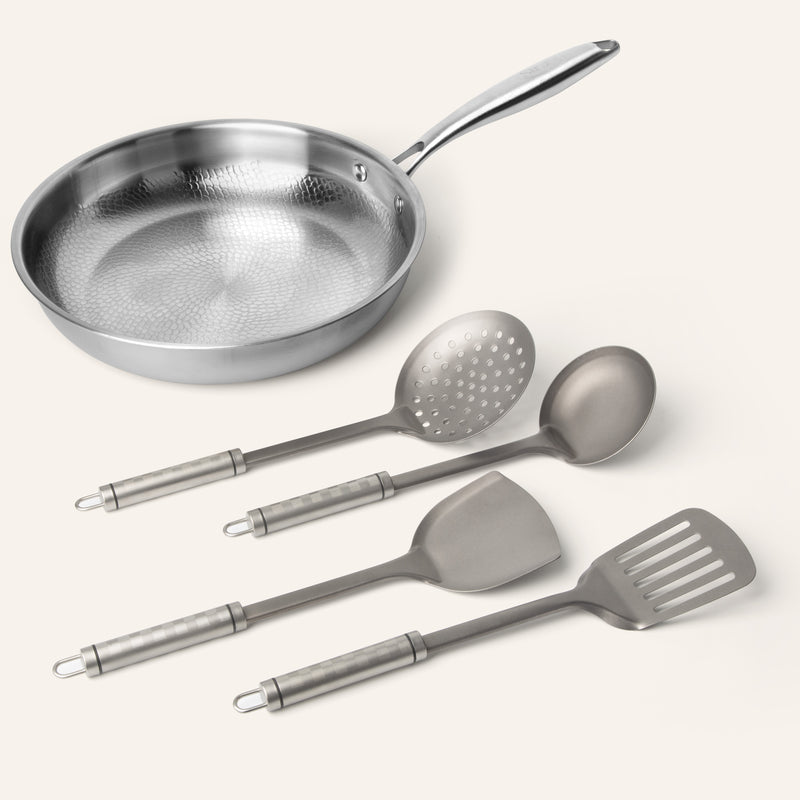
The fillet will often curl up as the skin contracts, which leaves the middle floating above the pan. To prevent this, press down firmly with a fish spatula for a few seconds. This keeps the whole skin in contact with the surface, so it browns evenly instead of only at the edges.
Step 5: Cook Undisturbed
Cook the salmon for about 90% of the time on the skin side, which crisps the skin and cooks the flesh gently from below. Look at the side of the fillet: you’ll see the color change from deep pink to opaque pink creeping upward. When it has gone about two-thirds of the way up, the skin is usually crisp and the fillet is ready to turn.
Don’t try to lift it early. If the skin grips the pan, it simply isn’t ready to release yet, and forcing it tears the skin. If you’re cooking more than one fillet, leave space between them. Crowding drops the pan temperature and creates steam, so instead of crispy fillets, you’d get steamed ones.
Step 6: Flip and Finish
Slide a fish spatula under the fillet and flip it once. If the fillet is thick, support it with a second utensil so it doesn’t break apart. Cook the flesh side for another minute or two. You don’t need to brown this side; it only has to finish cooking. Lower the heat slightly if the pan is smoking.
For a thicker fillet, you can briefly tip it onto its sides to cook the edges, which often stay a bit raw. Salmon keeps cooking for a few minutes after it leaves the heat, so take it off just before it looks fully done.
Step 7: Rest the Salmon and Serve
Move the fillet to a plate and let it rest for about two minutes. Resting lets the juices settle and the center finish gently, so the fish stays moist when you cut into it. Place it skin-side up, so the crisp skin isn’t sitting in its own steam. If you have a wire rack, that’s even better, since air can circulate underneath.
While it rests, you can pick what goes with it. Salmon is rich, so it works best with something fresh or something that soaks up the juices:
- Sides: roasted or steamed vegetables like broccoli, asparagus, or green beans; baby potatoes; rice or quinoa; or a simple green salad.
- Something acidic: a squeeze of lemon right before serving.
- A quick sauce: a spoonful of yogurt mixed with fresh dill, or melted butter with garlic and lemon juice.
| Salmon fillet thickness | Skin side | Flesh side |
|---|---|---|
| ½ inch (1.3 cm) | 3–4 minutes | 1–2 minutes |
| 1 inch (2.5 cm) | 4–6 minutes | 2–4 minutes |
| 1½ inches (4 cm) | 7–9 minutes | 4–6 minutes |
How Long to Cook Salmon in a Frying Pan
Thickness has more effect on cooking time than weight, which is why a thin tail piece finishes well before the thick center of the same fillet. Published timings vary a little from source to source, so treat the table above as a starting point. Your stove, your pan, and how cold the fish is when it goes in will all shift the result by a minute or two. The type of salmon matters as well: fattier king salmon takes longer than leaner sockeye, and wild fillets tend to be thinner than farmed ones.
If the skin darkens before the flesh looks ready, the heat is probably too high for the thickness of the fillet. Lowering it to medium and adding a minute or two usually fixes this without costing you the crisp skin. Whatever the clock says, the color line creeping up the side of the fillet and a quick temperature check will tell you more than the timer.

How to Tell When Salmon Is Done
Cooked salmon turns from translucent to opaque and flakes easily when you press it gently with a fork. Check the thickest part of the fillet, since it’s the last to finish. Color is a helpful guide, but it isn’t a reliable way to confirm that fish has been cooked to a safe temperature. A thermometer is the more dependable check.
Temperature of 145°F (63°C) is the minimum safe internal temperature for fish. Some cooks pull salmon earlier for a softer, more tender center, which is a personal choice below that official minimum. The temperature also keeps rising slightly while the fish rests, so it’s worth taking this into account when deciding when to take the pan off the heat.
If white, curd-like streaks appear on the surface, that’s albumin, a harmless protein that is squeezed out as the muscle fibers tighten. You’ll see more of it when salmon is cooked at high heat or for too long. Searing on the skin side first and lowering the heat a little after the flip usually keeps it to a minimum. If it does appear, you can simply dab it off.
Skin-On vs. Skinless Salmon: What Changes
Skin-on is the more forgiving option. The skin shields the flesh from direct heat, so the fillet tends to stay juicier, and it crisps up into the texture many people are after. It does cook a bit more slowly than skinless salmon, though most cooks find the extra minutes worthwhile.
Skinless fillets follow the same method but cook faster, since the heat reaches the flesh directly. They need a little more care: use slightly lower heat and flip them gently, because without the skin they’re more fragile. Sear the presentation side first, as it’s the one that will end up facing up on the plate.
Final Thoughts on Cooking Salmon in a Frying Pan
Pan-searing is one of the quickest ways to cook salmon, and it gives you a texture that’s hard to get from the oven: crisp skin on one side and a tender, flaky center on the other. Because it usually takes under ten minutes, it also works for a busy weeknight, with no marinade or special equipment required.
The first time, you may need to adjust the heat or timing to suit your stove and the thickness of your fillet. Once you’ve seen how a well-cooked fillet looks in your own pan, it becomes much easier to repeat. From there, you can make it your own with a different side, a simple sauce, or a squeeze of lemon.